We are your local print shop, save time and cost shop locally.
Sign Centre is your local print shop with same day service for those super urgent jobs, just email your print job and we will have it printed super fast.
How do your business cards stack up? Do they represent you and your business accurately? Do they set you apart from your competition? At Pinc we can help you to create luxury, premium quality cards. Leaving behind a premium business card can be a cost-effective and efficient way of marketing your company, so make sure that you hand out business cards that people WANT to keep.
Add foil, add edge painting, sandwiching, embossing and debossing… or have a mix! If you want to talk fancy cards, we would love to hear from you! Click on the images below to see more in each section. Whether you need printing as a standalone service or require design assistance, please get in touch for some info.
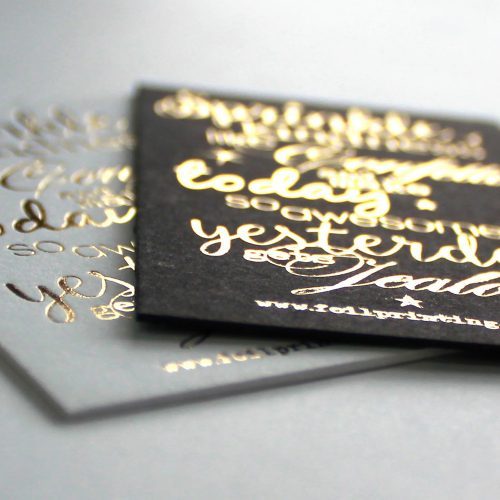
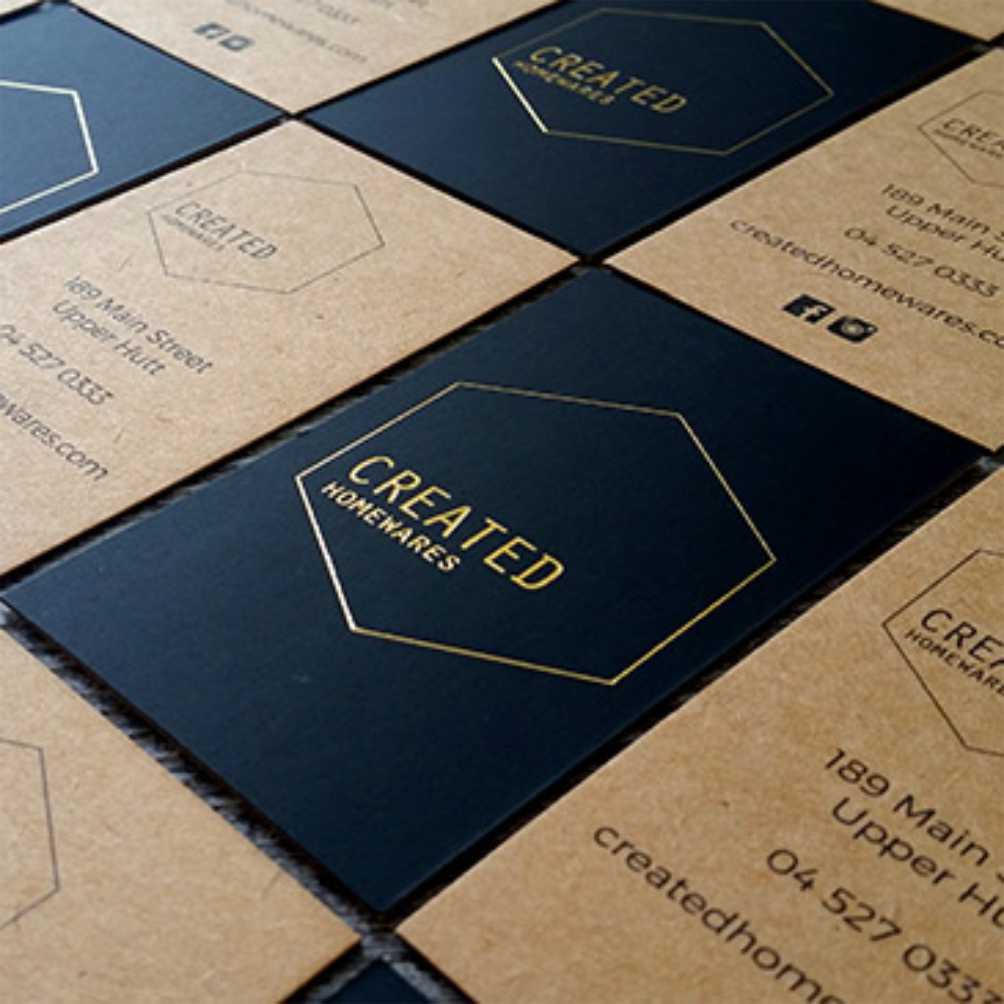
Foil adds such an elegant touch to business cards, and there is a range of foil colours to suit your branding – gold, silver, copper, rose gold, blush, pink, green, blue, purple… metallic foil, brushed foil, hologram… so many options!
Layered business cards are such a unique product! There are so many card colours to choose from, or you can have two of the same stock to make one ultra thick card. Two or three layer, with or without foil… so many options!
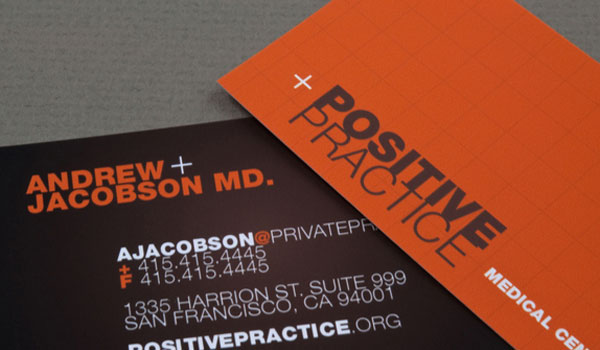
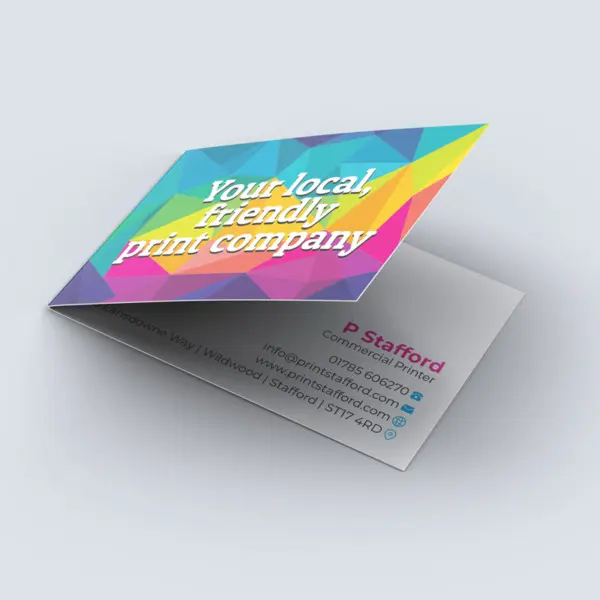
We also offer digital printing on our range of standard and specialty card stocks. From smooth 310 gsm white papers, to metallic and textured 350 gsm card options. Also matt and gloss laminate coatings available.
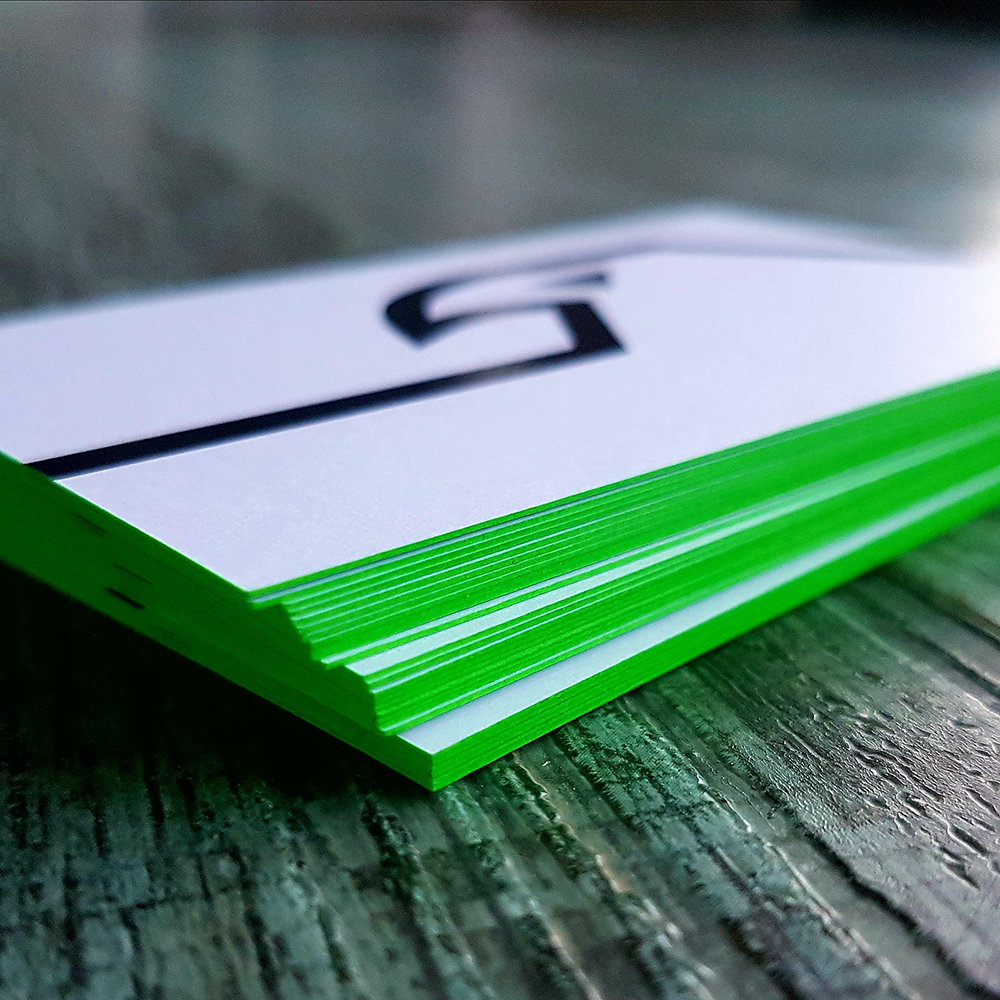
Edge painting is a unique finishing touch for business cards – whether it is a bold colour on a standard 310 gsm or gold on ultra-thick card, it is a lovely feature that will help to set your cards apart.
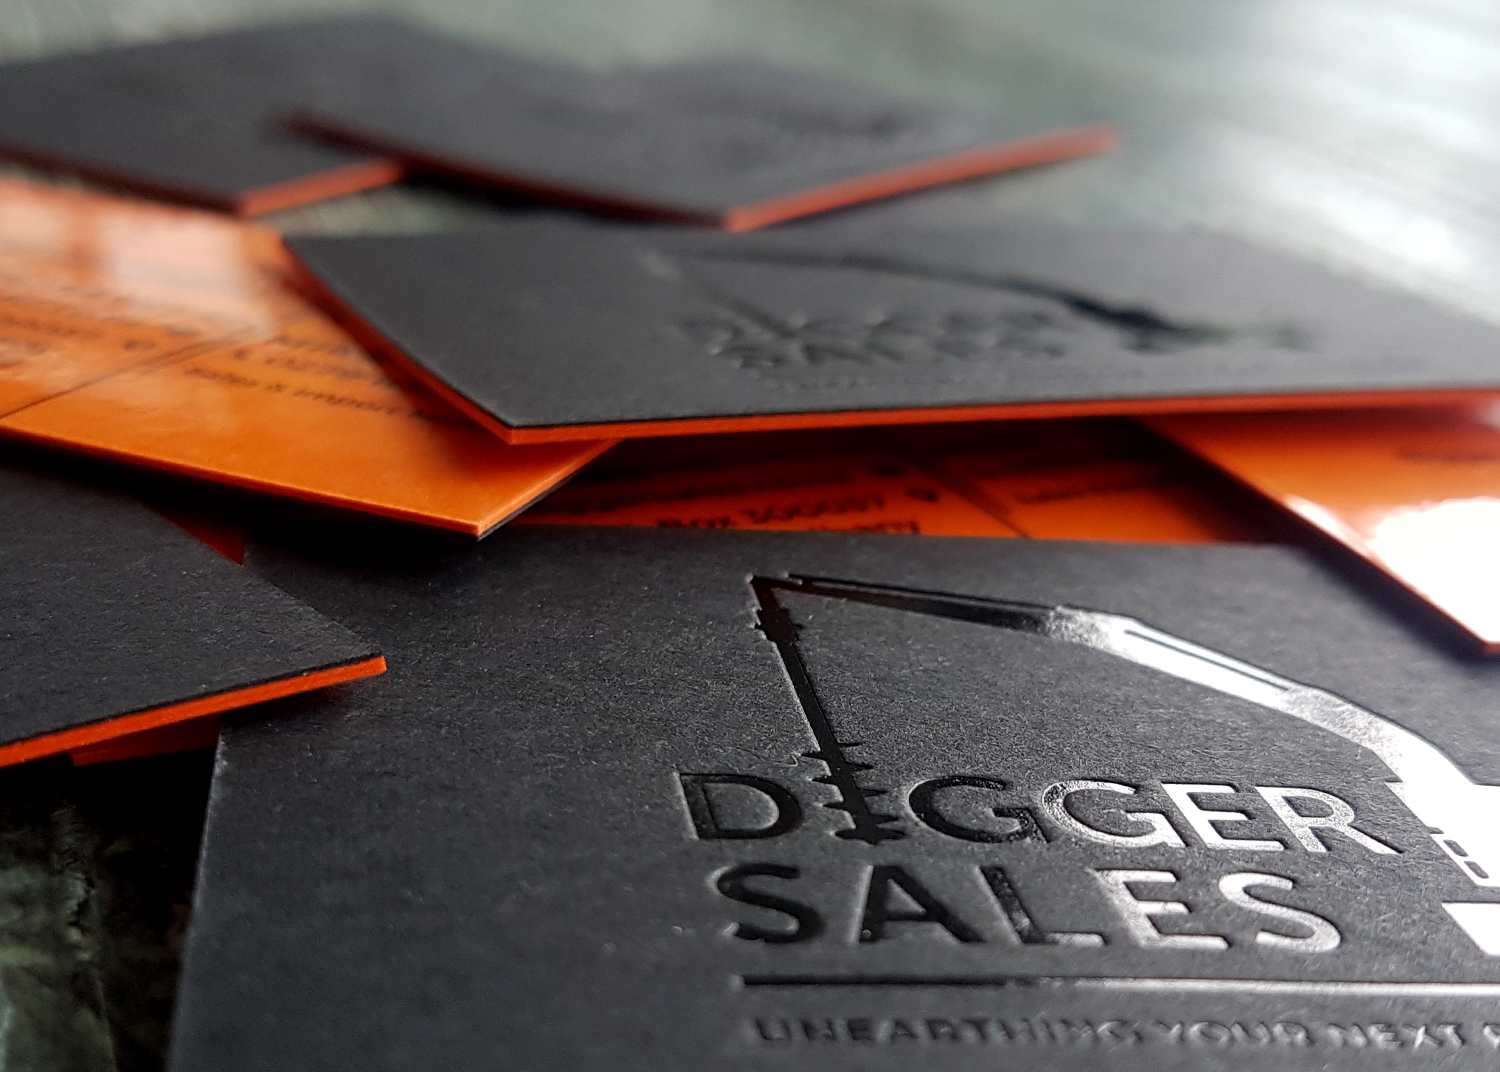
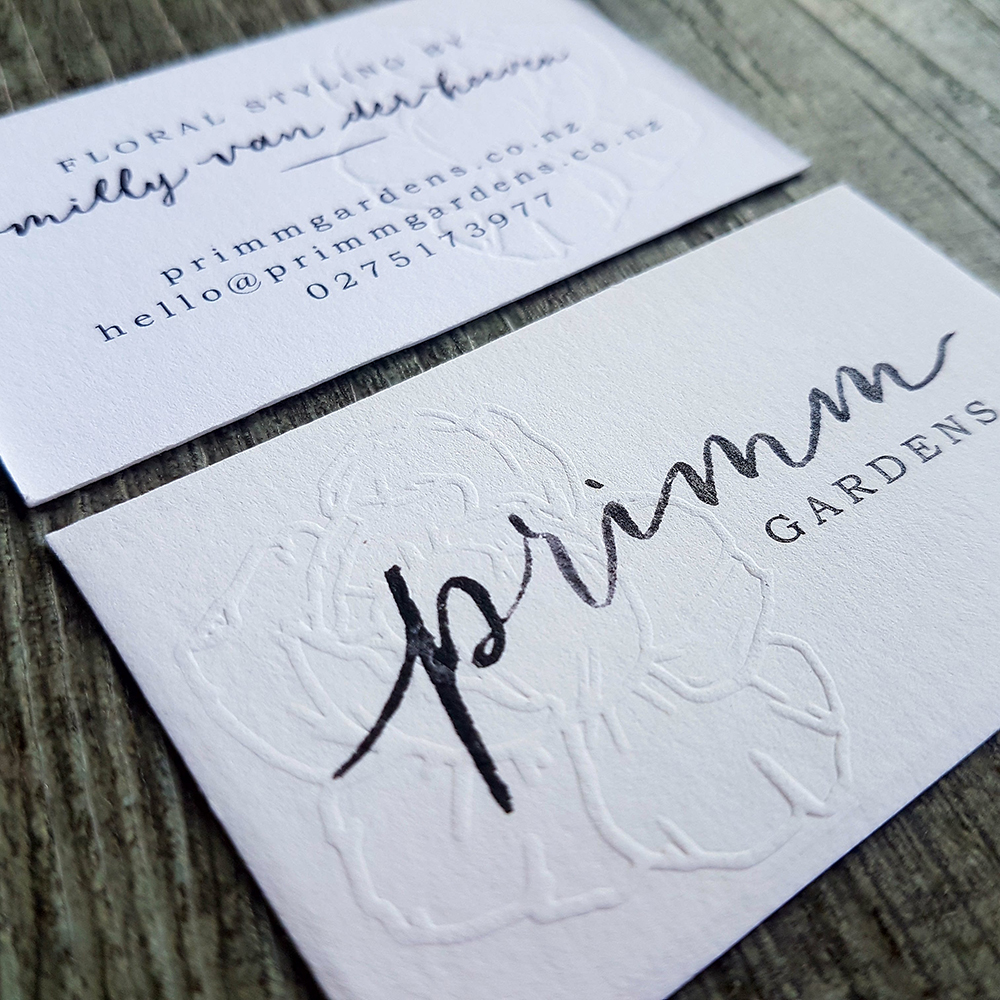
Debossing is a pattern, logo, or design indented into a card without colour. This process requires an ultra thick card to take the indented hit without affecting the other side. Using a thick card or sandwiched layers, it is a lovely finish.
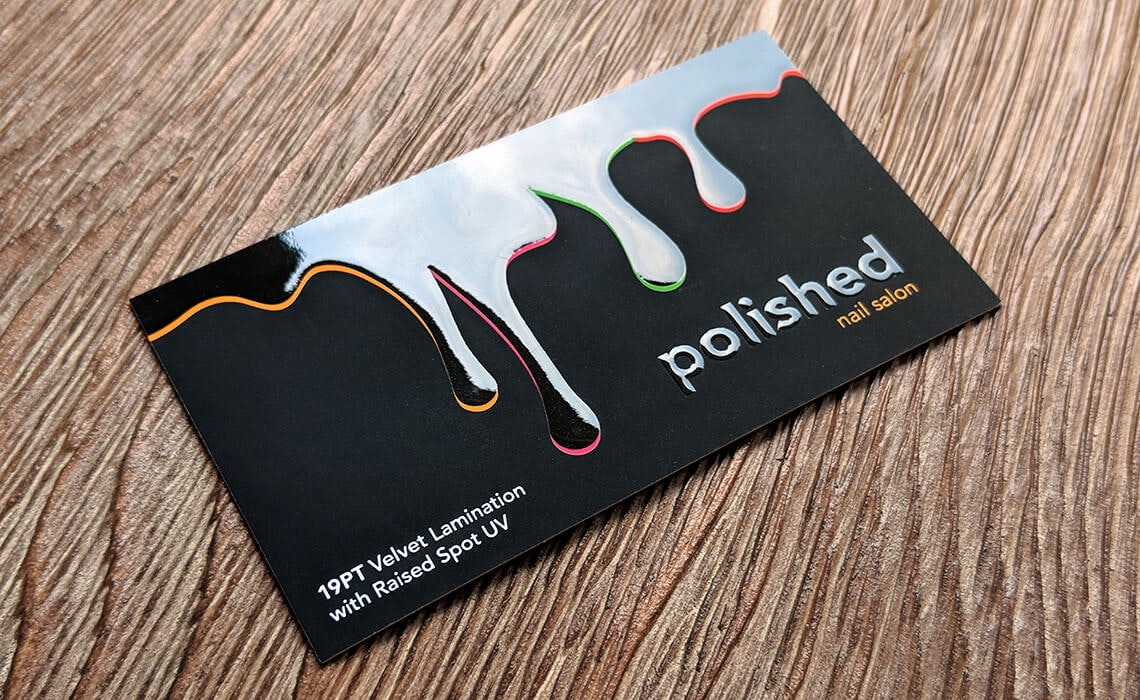
Embossing is a raised impression that affects both sides of the card – lifting on the front and creating a reverse impression on the back of the card. A beautiful, subtle finish that can be used for imagery, a patter, or text.
To save and time and make it easy for you we have created a few print template to help you with the setup of your print work
Here are some basic things you should be checking before sending your file to print.
When creating your file it is inherent that you create the file at the size of the product you’re printing. For example, if you’re printing an A5 leaflet, its finished size is 148x210mm, so your canvas size will be the same size.
Setting up artwork orientation correctly is crucial to ensuring your print turns out as intended.
All pages in your PDF should have the same orientation. This helps us to ensure we are printing your job exactly as you expect.
When printing, the paper stock will be flipped on the vertical axis, it is important to keep this in mind when setting up your artwork. If your artwork is predominantly vertical (portrait), ensure the orientation is set up that way in your file. This means the top of the page should be where you’d start reading a portrait-oriented document. Follow this same rule if your artwork is predominantly horizontal (landscape). This is the easiest way to ensure the print will be orientated the way that you want it.
To save and time and make it easy for you we have created a few print template to help you with the setup of your print work
When printing, the paper stock will be flipped on the vertical axis, it is important to keep this in mind when setting up your artwork.
If your artwork is predominantly vertical (portrait), ensure the orientation is set up that way in your file. This means the top of the page should be where you’d start reading a portrait-oriented document. Follow this same rule if your artwork is predominantly horizontal (landscape). This is the easiest way to ensure the print will be orientated the way that you want it. To save and time and make it easy for you we have created a few print template to help you with the setup of your print work
Your artwork may include pages where it’s not possible to have the text upright on both sides. For example, landscape-oriented artwork followed by portrait-oriented artwork. In this case, when setting up your file please ensure all pages have the same orientation and are set up to flip on the vertical axis.
Bleed is the extra space around the outside of your document that will be cut off when trimming. We recommend a minimum of 3mm bleed for all printing (unless specified).
Correct bleed will ensure there’s no white edge if the guillotine cuts slightly off.
A quiet zone should always be considered when setting up your file. Margin set-up is dependent on your product. Make sure all your important info is out of the quiet zone to ensure no info is trimmed off or bound. The recommended quiet zone is generally 5mm from the trim edge but can differ on other products.
Ensure that you are creating your files in CMYK. This gives you more control over how the colour will be produced.
When you create a PDF version of your designed file, a copy of each necessary font is added to the PDF file itself. This process is known as embedding. Regardless of where this PDF is opened, whether it is on your computer or another person’s computer, all of the correct fonts will be there and will render properly. By embedding your fonts in your PDF, you will avoid any issues regarding fonts that may alter your design’s look.
It’s super easy to check whether fonts have been embedded in your pdf:
Open PDF file
Click File > Document Properties (Shortcut Ctrl + D or Cmd + D)
Click on the Fonts tab to display the list of all fonts
All fonts are either Type 1 (not supported by Adobe as of 2023) or TrueType
All fonts should show as Embedded Subset
ABOUT SIGN CENTRE
Sign Centre is a New Zealand family owned and operated sign and print shop specialising in sign and printing. Based the sunny Bay Of Plenty servicing the local Tauranga and Mount Maunganui area as well as NZ wide. We also manufacture custom signage products for the sign industry. Please feel free to get in touch, we would love to hear from you!
Sign | Print | Manufacturing | Install
94 Newton Street, Mount Maunganui.
Call us 07 57 57 500
sales@signcentre.co.nz